Install and connect OpenVPN on Mac OS X/OS X/macOS with Tunnelblick
1. Installing Tunnelblick on Mac OS X/OS X/macOS 2. Importing OpenVPN configs to Tunnelblick on Mac OS X/OS X/macOS 3. Connecting OpenVPN with Tunnelblick on Mac OS X/OS X/macOS1. Installing Tunnelblick
Download the setup file from the Tunnelblick official site.Tunnelblick support all kinds of OpenVPN configs of the DeepWebVPN, both RSA and ECC.
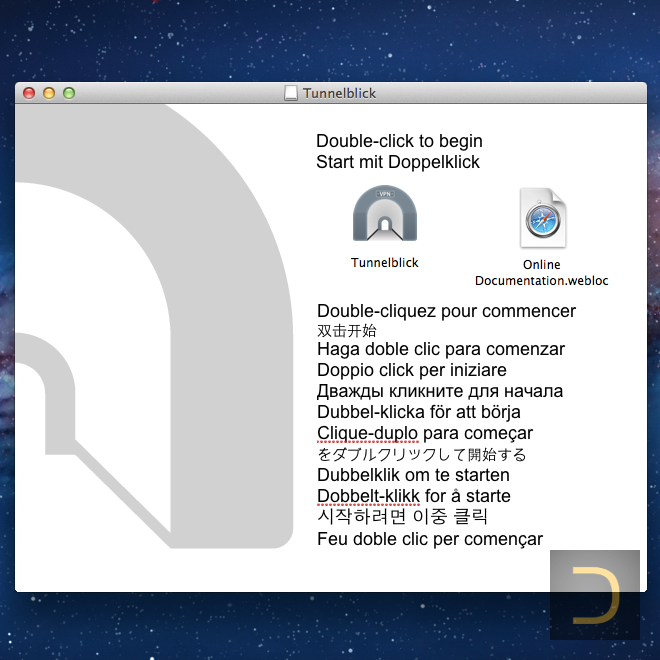
Open the installation file and click to the Tunnelblick icon (on the left) in the setup window.
Tunnelblick may warn you about requests to the host tunnelblick.net during the installation process. Just agree with it and disable after installation: Preferences -> Inhibit automatic update checking and IP Address checking.
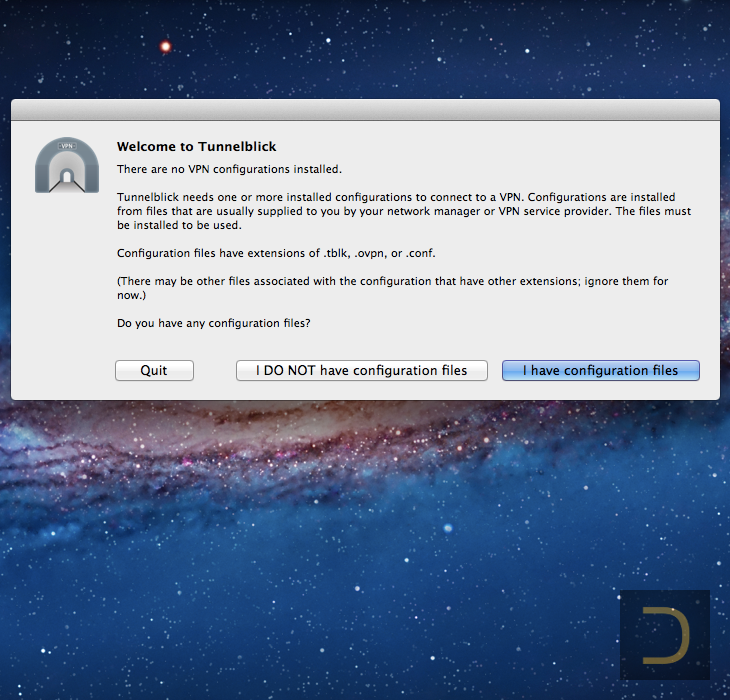
Select I have configuration files at the welcome window.
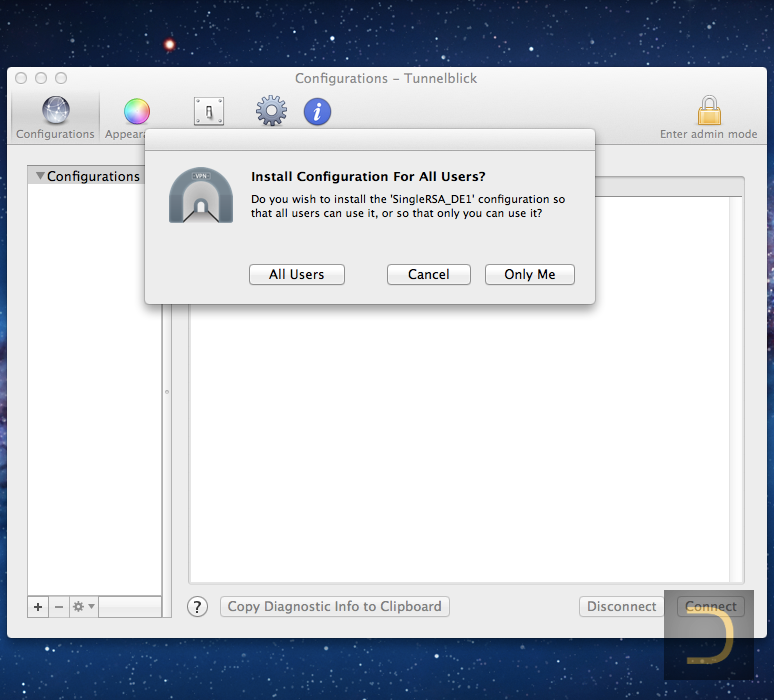
2. Importing configs to Tunnelblick
Download and unzip the archive of the DeepWebVPN OpenVPN configs.It is not necessary download archive of all OpenVPN configs, you may select and download a specific configs (Single chains and Double chains).
Run Tunnelblick (Applications -> Tunnelblick).

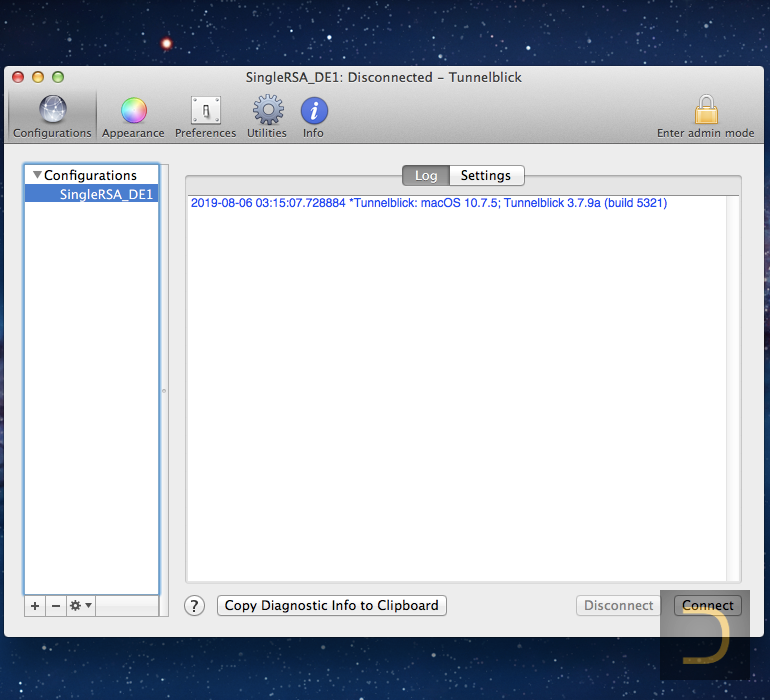
3. Connecting OpenVPN with Tunnelblick
Select one from imported configs and click Connect button in the lower right corner. Enter the username and password when Tunnelblick will ask it.The username and password are the same as the username and password of the DeepWebVPN Cabinet.

To avoid DNS leaks and for correctly working of the Internet, don't forget to set the DNS if Tunnelblick didn't do it automatically.